About Services Consulting Workshop Certificates Events Work Blog Links Contact 🇵🇦 Español Book 10 free minutes →
← All resources Tutorial
How to make a 3D animated video with AI, no Blender

A 2 minute 3D short with voices, music and 100 clones, made just by talking to Claude Code: the real prompt, the 8 steps and the kit.

How to make a 3D animated video with AI, no Blender
"The literal genie": 1:59, vertical, made just by talking to Claude Code (audio in Spanish).

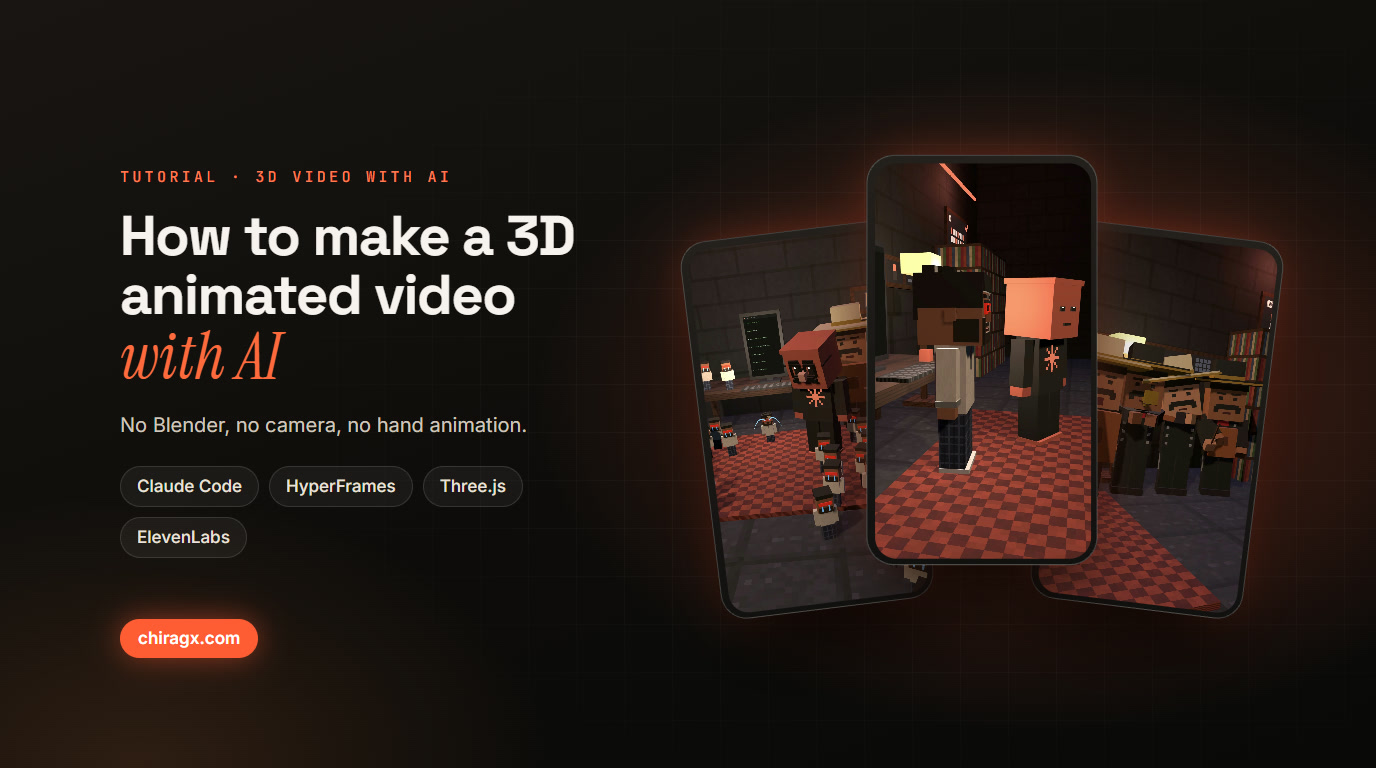
This 3D comedy short runs almost two minutes: two block characters, voices, music, captions, 100 clones and 4 mariachis. I filmed nothing, never opened Blender or After Effects, and animated nothing by hand. It all came from a conversation with Claude Code.

The video explains how the video itself was made, and its joke is also the lesson: ask an AI for something vague and it takes you literally. "Make me a 3D video" and it turned me 3D. "Keep it short" and it shrank me to 20 centimeters. "Make it go viral" and 100 copies of me showed up.

Here is the full method, with the real prompt, the steps and the kit with the files I used.

Free download

Download the kit

Free, no email needed: one click and it is yours.

Download →

What you need

It is all software; no gear required.

  • Claude Code: the agent that writes everything: the story, the 3D code, the scripts and the mix.
  • HyperFrames: by HeyGen, open source (Apache-2.0 license). It turns HTML into video, frame by frame and always the same, and ships skills for Claude Code.
  • Three.js: the 3D world in the browser. Everything is made of cubes, no models.
  • GSAP: the animation of captions, cards and flashes.
  • ElevenLabs: voices with per word timestamps, the clone of my voice, sound effects and original music.
  • ffmpeg: the final mix, the "chipmunk" voice and standard loudness.
  • Whisper (via transformers.js): checks that every line is understandable before using it.
  • The marketing-psychology skill: the hook, the ending that loops back to the start and the call to action.
  • Node 22: to run the CLI and the scripts.

To get started:

npx hyperframes init my-video
npx hyperframes skills update

Step 1: the prompt (the real one)

This was the first message, word for word, translated from Spanish:

create a Minecraft style 3D environment in a dark computer room and animate Claude in Minecraft style and me in Minecraft style, while it teaches the full process of making videos with AI using exactly the method and the prompt you will use here, it is like an inception, an idea inside another

Before building anything, Claude pitches three different stories, in text only, and you pick one. That way no hours go into an idea you don't like.

Step 2: the spec

Every adjective becomes a number: 9:16, 30 frames per second, 76 px word by word captions, each character's color and each scene's length. HyperFrames calls this SPEC.md. It is the difference between "make it look pro" and something you can review.

Step 3: the world in code, no Blender

  • The room, the desk, the monitor and the shelves are cubes with 16 px textures drawn in code (Three.js InstancedMesh).
  • The characters are cubes too, but they have knees, and a small formula (two bone IK) keeps their feet on the floor when they sit and walk.
  • Poses are code as well: waving, pointing, cheering, shrugging, throwing a tantrum, throwing a punch.
  • The camera follows smooth curves (Catmull-Rom) and cuts on the joke.
  • HyperFrames' golden rule is that everything depends on time: no unseeded randomness and no clocks, so every render comes out identical. The HyperFrames three adapter tells the scene which second to draw (the hf-seek event).

The visual tricks are code too: the flat cardboard room that unfolds into 3D like a pop-up book, the VHS rewind effect, the glass that cracks when the character hits the camera, and the Droste effect, where the monitor shows the same shot and the camera dives into it.

Step 4: the voices

  • Generation: ElevenLabs, with per word timestamps. Those timings drive everything: the captions, the characters' mouths and the cuts.
  • My voice: an instant clone made from about 2.5 minutes of my clean voice, taken from a meeting recording. A transcript with speaker separation found my turns.
  • Claude: uses a Latin American Spanish voice from the ElevenLabs library.
  • Models: eleven_v3 acts out emotions with tags like [deadpan], [crying] or [shouting]. When v3 stumbled on short lines, those were regenerated with eleven_multilingual_v2.
  • Checking: Whisper listens to every line and, if it can't understand it, the line is regenerated.
  • Voice effects: the "chipmunk" voice when I shrink is ffmpeg with rubberband, raising the pitch 1.5 times without changing the length. The chorus of 100 clones is five copies at different pitches, a few milliseconds apart.

Step 5: the sound

  • Effects: every gag has its own, generated with the ElevenLabs sound effects API and trimmed to fit: boing, snap, cartoon punch, glass hit, crickets, record scratch, a cascade of pops and a mariachi shout.
  • Music: five original pieces made with Eleven Music, one per act (night, comedy, mariachi, montage and fall). Because they are separate pieces, they can cut dead where the joke needs it: the mariachi stops cold in the awkward silence.
  • Mix in ffmpeg: voices with EQ, de-esser and compression; the music ducks on its own when someone talks; a limiter and normalization to -15 LUFS, the social media standard.

Step 6: one source of timing

One script (build.mjs) reads how long each voice line lasts and on which second each word lands, and uses that to place everything: captions, effects, music sections, camera moments and the end card. Change a line and everything rearranges itself.

Step 7: review before you ship

HyperFrames takes snapshots of key moments (npx hyperframes snapshot --at ...) and Claude reviews them. Some real fixes that came out of it: the character's head covered the 2:13 clock, a clone covered the lead while he cried, the monitor light blew out the character when he climbed onto the keyboard, and the camera was too close to "Carlos's" face.

Then come the automatic check (npx hyperframes check) and the render (npx hyperframes render --quality delivery), which takes about 3.5 minutes for 2 minutes of video on a PC with a GPU. Last, the audio mix.

Step 8: iterate like with a client (6 versions)

  • "It should flow a bit more, the start feels odd": a new hook, knees on the characters and camera curves.
  • "The voice sounds robotic": ElevenLabs and my cloned voice.
  • "The music is the usual one" and "there is an ugly noise at scene changes": original music and short effects.
  • "More emotion, movie style?": a real problem (I launch tomorrow and have no video), a twist and a final fall.
  • "Make it funnier": a single comic premise, the literal genie.
  • "Make the whole shot 2D and only me 3D": the unfolding cardboard room.

What I learned

  1. Be specific. AI doesn't guess: the clearer the request, the fewer rounds.
  2. One strong premise beats ten loose jokes. The list of small gags wasn't funny; one idea that escalates was.
  3. Ask for three stories and pick one. It is the cheapest decision to change.
  4. Listen to every voice line before using it. Whisper does the checking.
  5. One script for timing. Change a line and nothing breaks.
  6. A hook in 2 seconds, an ending that loops back and a call to action.

The video in numbers

  • 1:59 long, 3,574 frames, 1080 x 1920 at 30 frames per second.
  • 45 voice lines: 10 reused from earlier versions, 2 with a chorus effect and 11 with the chipmunk voice.
  • 100 clones, 4 mariachis, 9 memories in the fall and 1 cracked glass.
  • 6 versions and about 3.5 minutes per render.

What is in the kit

  • PROMPTS.md: the first prompt and the comments that changed each version.
  • tools/eleven.mjs: ElevenLabs voices with per word timing; it also clones your voice and records samples.
  • tools/voicefx.mjs: the chipmunk voice and the chorus, at the same length.
  • tools/sound6.mjs: effects and music with ElevenLabs.
  • tools/mix.mjs: the mix with ffmpeg.
  • tools/build.mjs: the single source of timing, as an example.
  • compositions/: the full 3D scene (world.html) and the overlay layers (titles.html), for reference.
  • narration.json: the script with emotion tags.
  • skills/three-3d.md: the add-on that lets HyperFrames video skills use Three.js.

The kit's notes and script are in Spanish. Third party skills are not copied; you install them from their source: HyperFrames with npx hyperframes skills update and marketing-psychology from its repository. The kit carries no keys: you add your own ElevenLabs key.

If what you want is product videos made from your own app, also see how we made the xyCloser and XY Task videos.

Free download

Download the kit

Free, no email needed: one click and it is yours.

Download →

Stuck on a step?

Write me and we look at it

The resource takes you from zero to a hundred on its own, but some steps land better in a conversation. If you got that far and something is off, send me your site and I will tell you what is going on.

Book a call →

3D video · AI · Claude Code · HyperFrames · Three.js · ElevenLabs